Get Outputs from Local LLMs to Google Sheets

If you’re trying to cut costs and use locally installable large language models like llama2, mistral, etc., and use them to generate content inside Google Sheets, you have come to the right place. After a few trial and error, I have finally got it working.
If you prefer to watch a video instead, here’s a YouTube video showing the same:
But if you prefer reading, please keep scrolling. I have explained everything step by step…
1. Install the LLM on your computer
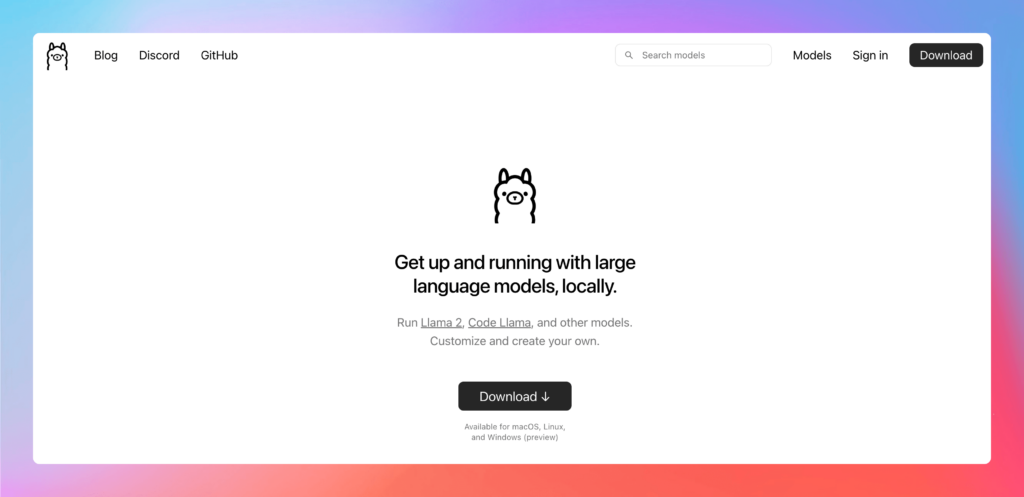
While there are multiple ways to install local LLMs on your computer, we’ll be using Ollama as it’s easier and probably the best way. It’s a simple app that is available for macOS, Windows, and Linux as well.

Once you install Ollama, you need to install the language model that you want to use. You have multiple models on this page that you can choose from. If you want to use llama2, then just run the following command in your terminal:
ollama pull llama2As the model will be downloading a large file for the first time, it will take some time depending on your internet speed. And once done, you can test it by running the following command:
ollama run llama2From here, you should be able to ask questions and get answers directly inside your terminal.
2. Create a web API
While you can use any language to create the web API, the easiest is to use Python, through Flask. It should create a simple server that you can feed prompts to through a specific endpoint and it should be able to provide you with the output.
For this, you can open any folder on your computer with the code editor of your choice (I prefer VS Code) and just copy-paste the following Flask code into a file called app.py:
from flask import Flask, request, jsonify
import ollama

app = Flask(__name__)

@app.route('/api/chat', methods=['POST'])
def chat():
    data = request.json
    response = ollama.chat(model='llama2', messages=[{'role': 'user', 'content': data['content']}])
    return jsonify(response['message']['content'])

if __name__ == '__main__':
    app.run(debug=True, port=5002)
If you do not have Flask installed, you can install it by using the following command:
pip install flaskNow, save the app.py file and start the web server by running the following command in your terminal:
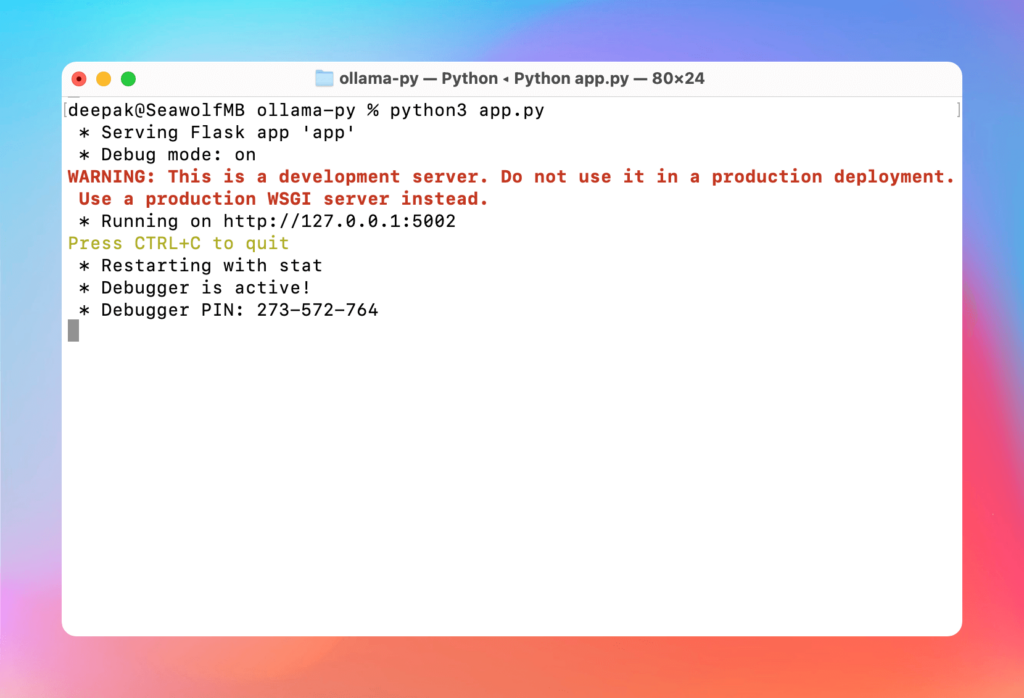
python app.py
And it starts running, and listening to the PORT 5002 as specified in the script.
3. Use ngrok for tunneling
Now, in order to get the local output to a Google Sheets file, we will be using tunneling. In this case, we will be using ngrok, but you can use Cloudflare Tunnel as well.
First of all, you will need to install ngrok on your computer by following the instructions and installing it for your operating system. Then sign up for the free account, get the auth token, and run the following command in your terminal:
ngrok config add-authtoken <AUTH TOKEN>Now, start the ngrok tunnel by running the following command:
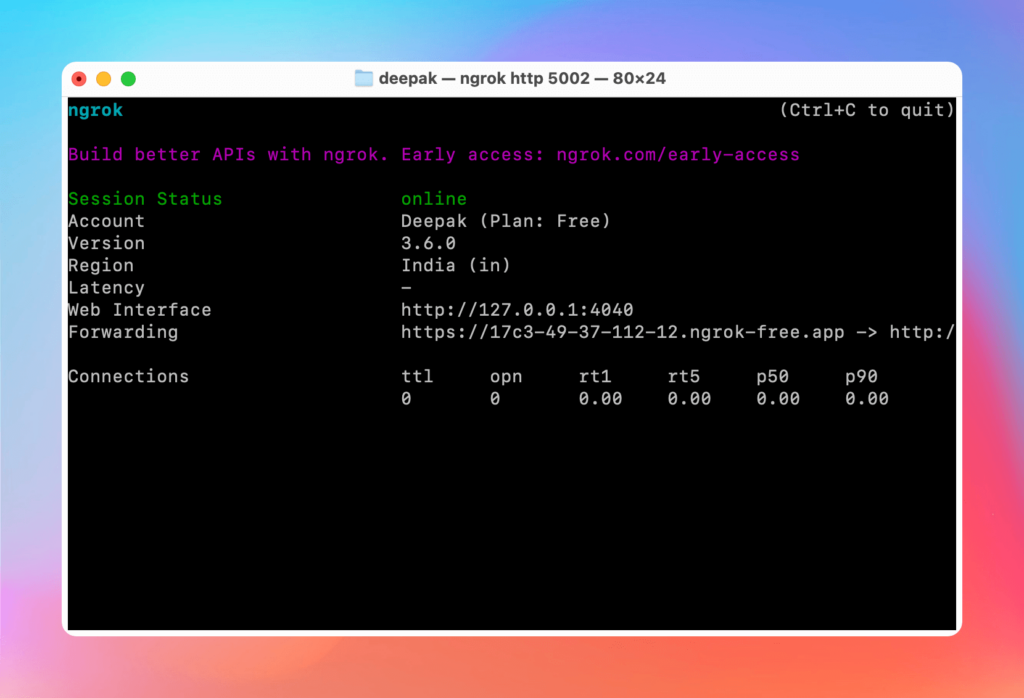
ngrok http 5002
And the tunnel gets started, you just need to copy the https version of the URL that we’ll be using in the next step.
4. Set up Apps Script
As we have already created the API, now, it’s time to call the API from inside Google Sheets by using Apps Script. I have provided the entire code below that you can just copy-paste. Just open a new or existing Google Sheets, go to Extensions > Apps Script, give the script a name at the top-left, and copy-paste the below code (delete the existing function):
function onOpen() {
    var ui = SpreadsheetApp.getUi();
    ui.createMenu('🎉')
        .addItem("Fetch Ollama Data", "callOllamaAPI")
        .addToUi();
  }

  function callOllama() {
    var spreadsheet = SpreadsheetApp.getActiveSpreadsheet();
    var settingsSheet = spreadsheet.getSheetByName('Settings');

    // Fetch the settings from Settings Sheet
    var settingsRange = settingsSheet.getRange(2, 2, 5, 1);
    var settingsValues = settingsRange.getValues();

    var startRow = Number(settingsValues[0][0]);
    var endRow = Number(settingsValues[1][0]);
    var dataSheet = spreadsheet.getSheetByName(settingsValues[2][0]);
    var promptColumns = settingsValues[3][0].split(',').map(function(item) { return letterToNum(item.trim()); });
    var outputColumns = settingsValues[4][0].split(',').map(function(item) { return letterToNum(item.trim()); });

    for (var i = startRow - 1; i < endRow; i++) {
      for (var j = 0; j < promptColumns.length; j++) {
        var promptCell = dataSheet.getRange(i + 1, promptColumns[j]);
        var finalPrompt = promptCell.getValue();

        if (!finalPrompt.trim()) {
          continue;
        }

        var outputCell = dataSheet.getRange(i + 1, outputColumns[j]);

        if (outputCell.getValue() === '') {
          var ollamaData = {
            content: finalPrompt
          },
          ollamaOptions = {
              method: 'post',
              contentType: 'application/json',
              payload: JSON.stringify(ollamaData)
          };

          try {
            var ollamaResponse = UrlFetchApp.fetch(`<TUNNEL>/api/chat`, ollamaOptions);
            var ollamaTextResponse = ollamaResponse.getContentText();
            // Remove the leading and trailing quotation marks from the JSON response and trim any leading/trailing whitespace
            var ollamaOutput = ollamaTextResponse.slice(1, -1).trim();
            // If there's a trailing quotation mark left, remove it
            if (ollamaOutput.endsWith('"')) {
                ollamaOutput = ollamaOutput.substring(0, ollamaOutput.length - 1);
            }
            // Replace \n with actual new line characters and \" with "
            var formattedOutput = ollamaOutput.replace(/\\n/g, '\n').replace(/\\"/g, '"');
            outputCell.setValue(formattedOutput);
          } catch(e) {
            console.error('Error calling Ollama API: ' + e.toString());
          }
        }
      }
    }
  }

function letterToNum(letter) {
letter = letter.toUpperCase();
var column = 0, length = letter.length;
for (var i = 0; i < length; i++) {
    column += (letter.charCodeAt(i) - 64) * Math.pow(26, length - i - 1);
}
return column;
}
If it helps, you can also get the same code from the GitHub repo that I have created.
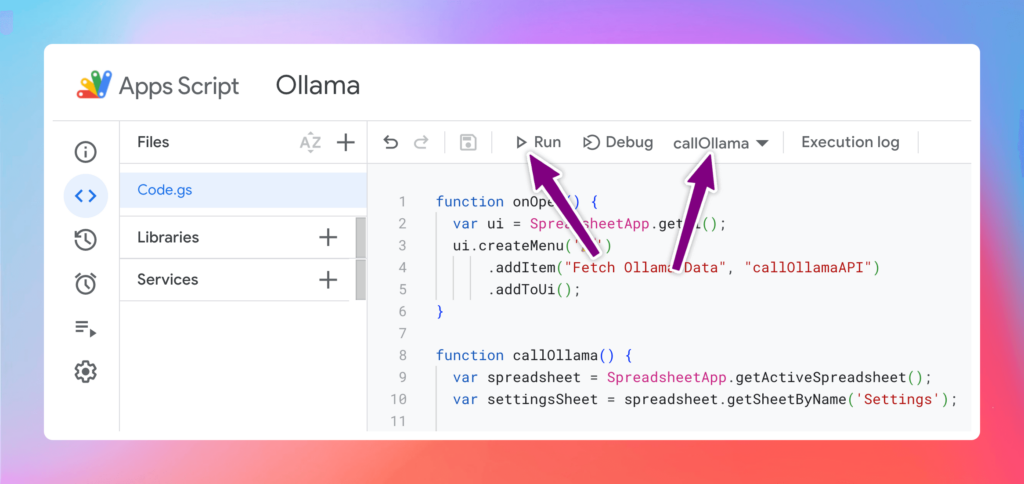
Now, replace the <TUNNEL> in the above code with the ngrok https URL that you copied in the previous step. After that, select the callOllama function and hit the Run button as shown below.

For the first time, you will need to give some permissions from your Gmail account as prompted. But the next time onward, it will directly start running once you click on the Run button.
If you get stuck, I would recommend you watch the video where I have explained or rather shown everything from the start.
Hope this helps. 🥳
